
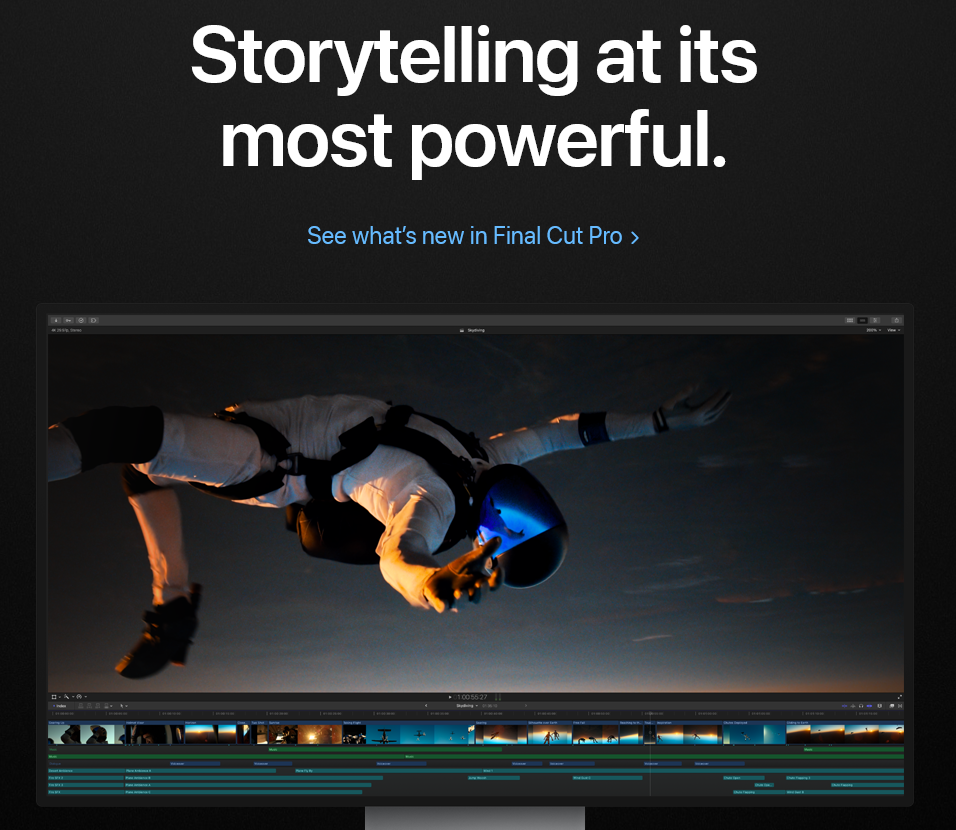
In the past two years, there have been numerous third-party professional photography apps on the iPhone, and Apple knew that the system’s automatic camera apps could no longer meet the needs of many photography practitioners and even ordinary enthusiasts. Therefore, Apple finally released its first advanced photography tool — Final Cut Camera in June 2024, but compared with third-party professional photography apps, the core of Apple’s photography app is not in the function of the body, but in the synergy with other devices. So, Final Cut Camera this photography app actually have what function? Let’s take a look together.
Final Cut Camera’s main interface UI design is still relatively clear layers, all control options can be directly called on the main interface. At the bottom, above the shooting button, there are three areas of buttons, from left to right are digital zoom, lens switch and more tools. On my iPhone 15 Pro, for example, Final Cut Camera currently offers 13mm, 24mm, and 77mm focal lengths natively, but the 28mm and 35mm focal lengths are missing, which, as an Apple app, doesn’t seem right to me. The slider for the digital zoom in Final Cut Camera is also very unusual, because it doesn’t correspond to the zoom range, but rather to the zoom speed, which is completely different from the logic used when taking photos. Clicking on the More Tools button, you can see that Final Cut Camera offers four functions: White Balance, Exposure, Focus, and Orientation Lock. Among them, the white balance function provides a lot of presets in addition to auto and manual, and it is a very convenient function to apply them with one click; there is a very strange logic here for the exposure, I can adjust the exposure of the screen by sliding left and right under the auto mode, and then if I click the auto button to switch to the manual button, the Final Cut Camera will change to the option of adjusting the shutter and ISO, which can only be said to be a little bit confusing; the focus is completely different from that when taking pictures. I can only say that it’s a bit confusing; focus is both auto focus and manual focus, nothing much to say; orientation lock is a very good function, you can directly choose the left horizontal screen, right horizontal screen, vertical, not lock four options in the main interface, without having to enter the settings interface or through the iOS system control center. Tap the button on the top left corner to pair with Final Cut Pro on your iPad for real-time multi-camera monitoring; tap the Settings button on the top right corner for a floating window of the Settings interface, which is divided into three tabs, namely Preferences, Tools, and Audio, with Preferences focusing on choosing codecs, formats, and color and dynamic ranges for captured video, as well as anti-shake. The Preferences tab includes a choice of codecs, formats, colors and dynamic range, as well as the option to turn on anti-shake and mirror the front lens; the Tools tab includes a grid overlay, square / 4:3 aspect ratio reference lines, as well as an overexposure indicator and peaking focus; and the Audio tab has just a single option where you can choose from a variety of audio sources, such as this device, Bluetooth headphones and so on.
Here’s another explanation of the Overexposure Indicator and Peak Focus functions. The Overexposure Indicator determines whether the image is overexposed by the number of red spots on the screen and adjusts the exposure parameters accordingly, while Peak Focus determines whether the image is successfully in focus by the number of small green dots, so be sure to turn this feature on when you’re manually focusing the camera.
At the top of the shooting screen and in Preferences, we can adjust the codec, format, and color and dynamic range of the video we’re shooting, which includes HEVC (H.265) and Apple PreRes, and 4K, 1080 HD, 720 HD, and 60 fps, 30 fps, 25 fps, and 24 fps for 4K, 1080 HD, 720 HD, and 120 fps and 240 fps for SDR and non-4K; the color and dynamic range is HDR and SDR. There’s also a choice of 120 fps and 240 fps in SDR and non-4K conditions, while color and dynamic range are available in HDR and SDR. That’s a lot of choices when you put it all together, and it’s basically enough to satisfy most people’s professional needs.
Final Cut Camera is available as a free download from the App Store, and Apple has also released Final Cut Pro 2 as an iPad client that can be used with Final Cut Camera to, for example, preview remotely, start a recording, transfer a project, and more.